There are two ways to install Drupal – manually or using auto-installer. In this section, you will learn how to do both! Please note that the steps listed in this tutorial are based on Drupal 8.x.x core version. However, it’s also applicable for Drupal 7.x.x core version.
Using Auto Installer
The easiest way to install Drupal on your web hosting is by using the auto-installer feature. You can find it in your hosting control panel. As an example, we’ll show you how to install Drupal in Hostinger’s hPanel:
1. Enter the hPanel
2. In the Website section, click on Auto Installer.
3. Under the Most Popular section, choose Drupal.
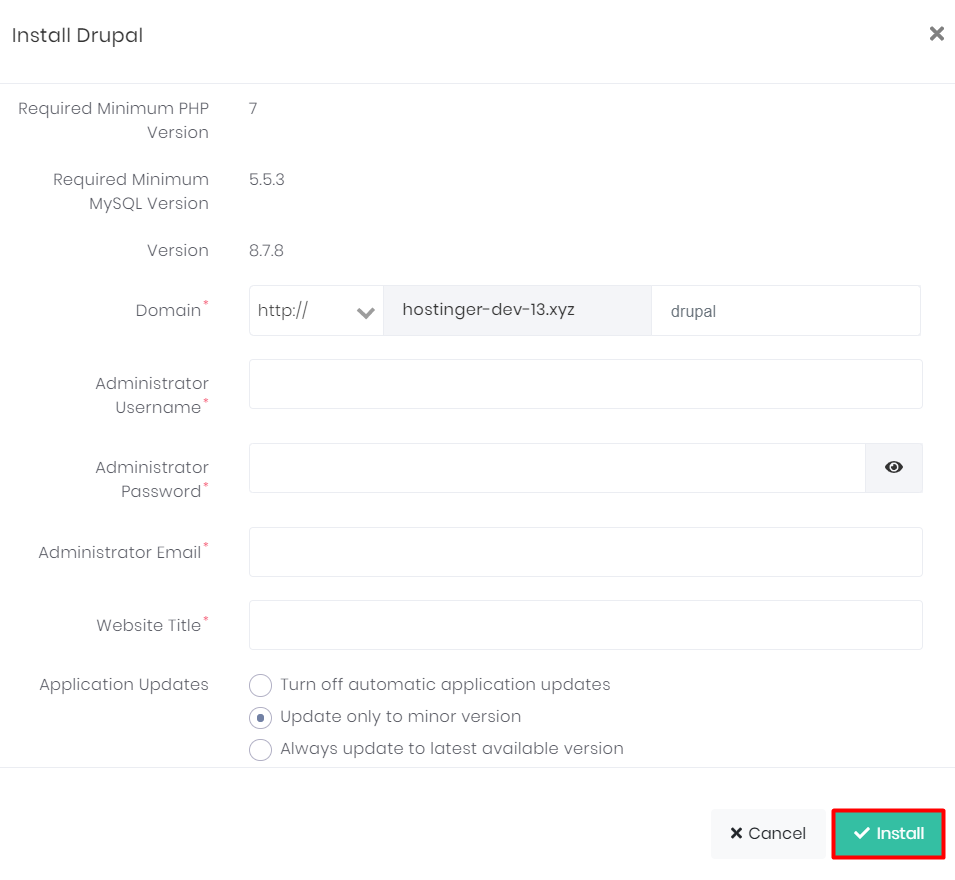
4. Enter the details in the presented form and click on Install.
Installing Drupal Manually
If you’re an advanced user, you might want to try to install Drupal manually. This method can come in handy if your hosting provider doesn’t provide an auto-installer feature. You can also use it for installing Drupal on localhost or VPS.
In the following steps, we will show you how to install Drupal manually in hPanel:
1. Download Drupal – visit Drupal’s official website and click on the Download Drupal zip button.
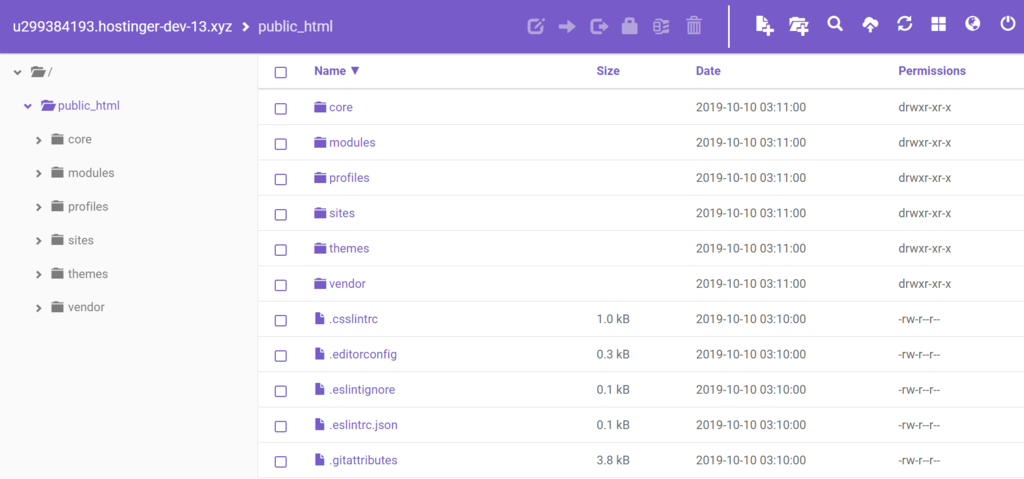
2. Extract installation files – enter the File Manager on the Files section. Then, upload the .zip file to the public_html directory. Next, you can extract the .zip file, here’s how the directory should look:
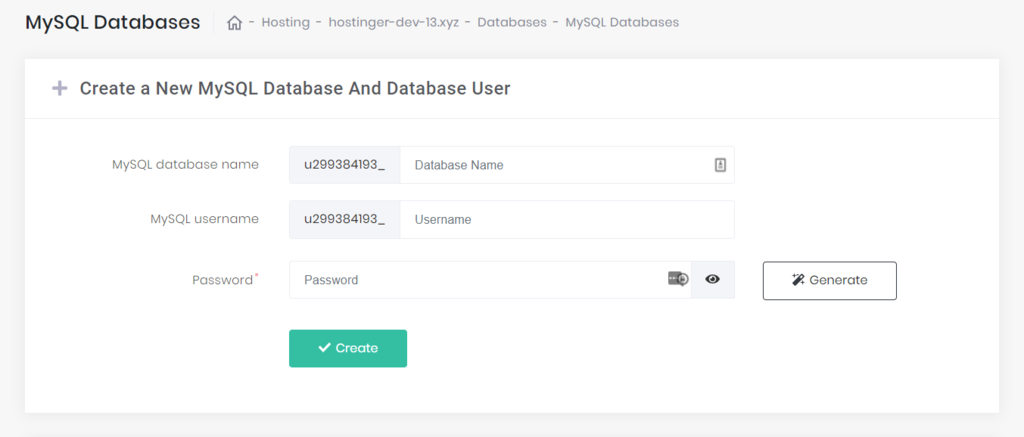
3. Prepare database – you need to set up a new database. In the main menu, go to the Database section and choose MySQL Databases. Then, fill in all the details and click Create.
4. Enter the installation page – go to your site’s address to start the installation. Choose your preferred language and click Save and continue.
5. Choose installation profile – there are two options to choose: Standard or Minimal. If you’re a beginner, standard is the better choice since it provides pre-configured Drupal features. Whereas, minimal would be suitable for advanced users since it offers more freedom in terms of customization.
6. Verify requirements – it will verify your server’s specifications and check if the requirements are met. If they match, you’ll be redirected to the next step.
7. Database configuration – fill in the information regarding the database that you’ve created earlier. Once done, click Save and continue to install the site.
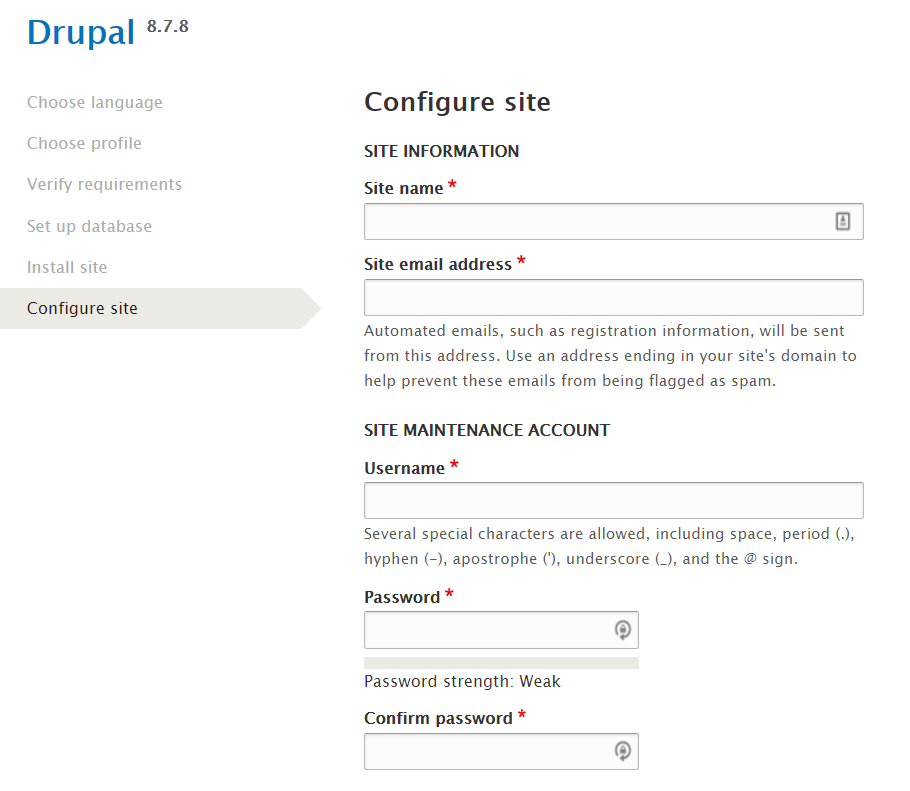
8. Configure site – now, you can start filling the site information and site maintenance account. Don’t forget to save the username and password since it will be used as your site’s login credentials. Then, click Save and continue to finish the installation.