
Speaking of layers, this is a critical feature to understand when you’re learning how to use Photoshop, even for the most basic Photoshop tutorials.
You might find that Photoshop isn’t doing something that you want it to, only to discover that it’s an issue with your layers. Having basic knowledge of this feature can help to avoid road bumps and frustration when you’re using Photoshop.
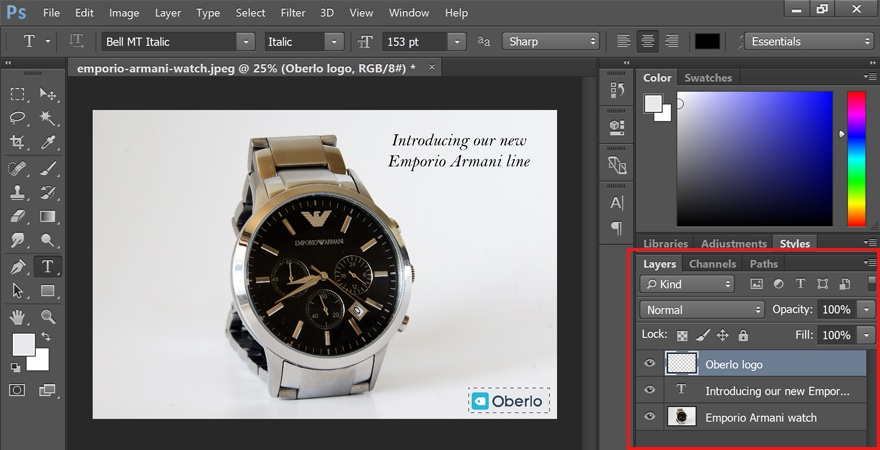
You can think of layers like sheets of glass that are stacked on top of each other. When you use multiple layers, it’s easier to edit one part of your image without messing up the rest of the final product. You can easily add or delete layers, as well as “hide” them by clicking the eyeball icon to the left of each layer’s name.
In many cases, Photoshop will automatically create a new layer for your action. For example, if you use the type tool to write on the background image, or if you paste in another image onto your document, it will create a separate, unnamed layer.
In the example above, you can see three layers: one for the logo at the bottom, one for the text, and one for the background image. We strongly recommend that you name your layers when you work, otherwise it can get confusing. To do this, just double-click where it says “Layer X” and type in whatever you want.
Now, if we want to move the logo around, we can just click the logo’s layer and move it, without disturbing any other parts of the document.

