IMPORTANT If you do not have a custom domain name at this time, use the default
domain name created for you. You can always go back and change it after you have purchased a custom domain from a provider.
If your organization already has a custom domain name, configure it as follows:
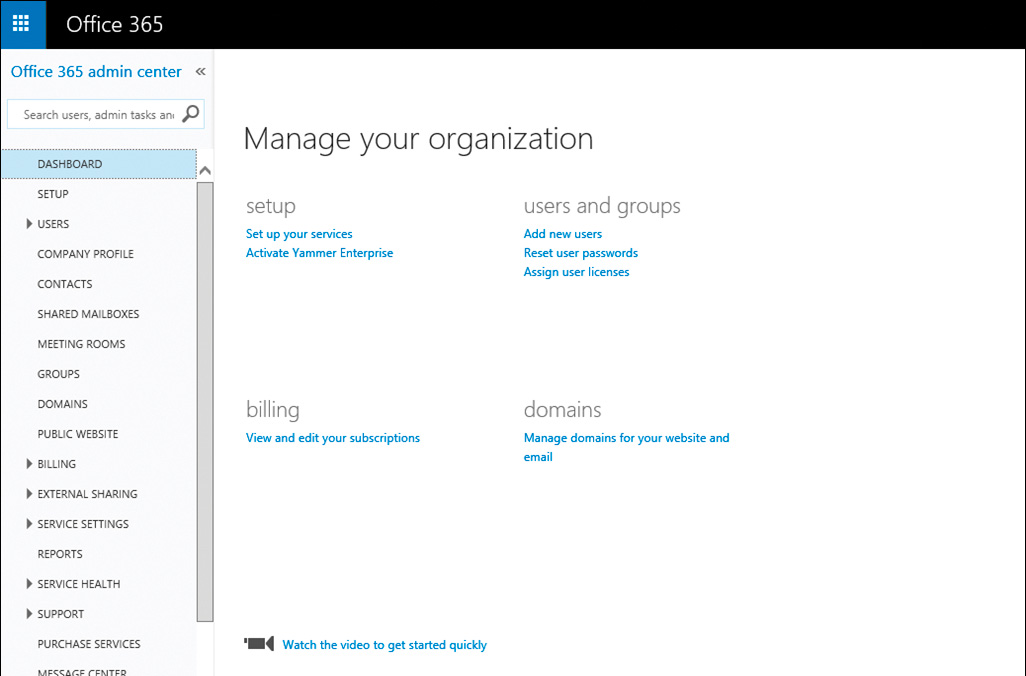
1. In the Office 365 Admin Center, click the Domains link in the navigation pane on the
left side of the page.
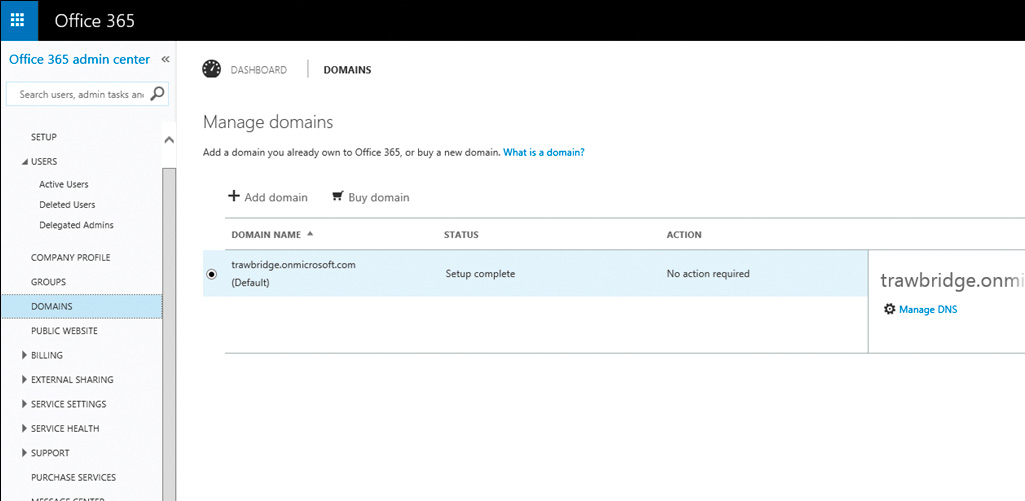
2. On the Manage Domains page, click Add Domain. This starts a
wizard that walks you through adding your domain to Office 365.
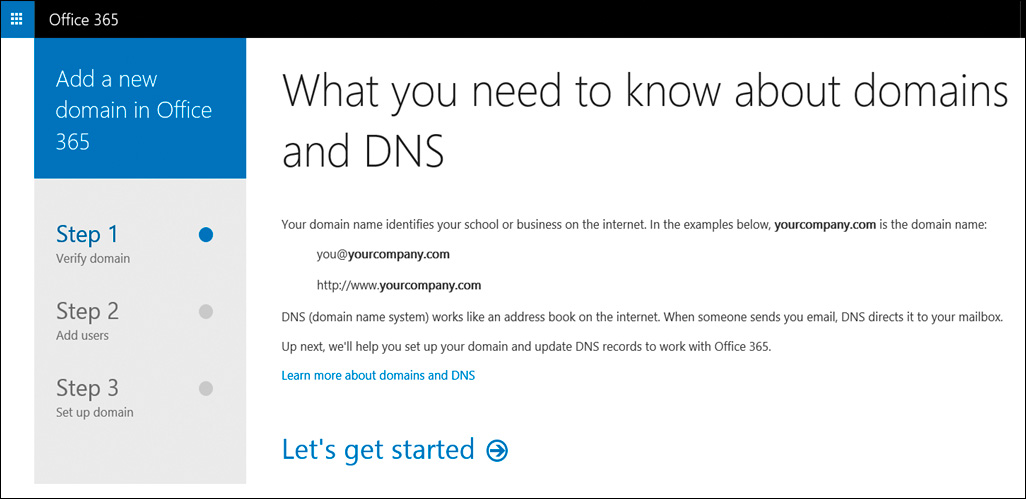
3. The Add A New Domain In Office 365 Wizard opens, showing a brief description of the
three-step process of adding a domain. Click Let’s Get Started.
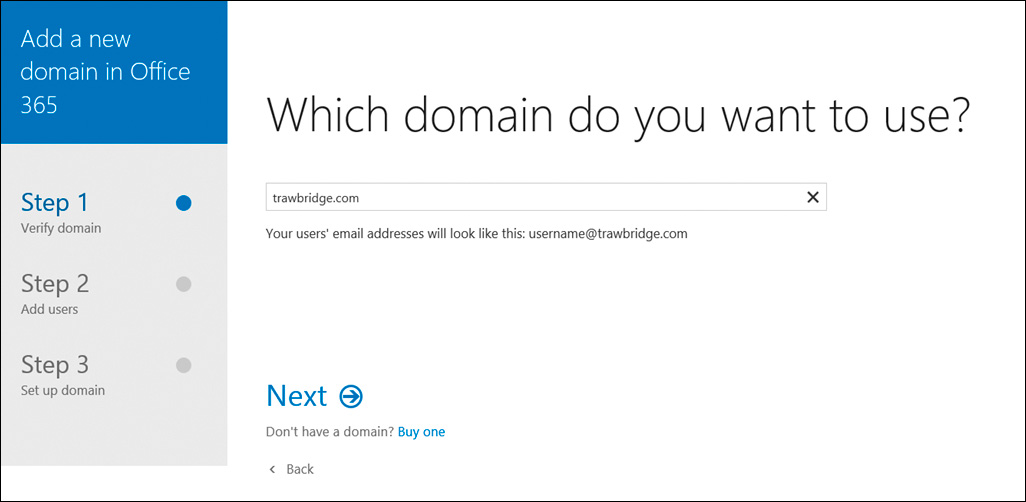
4. Enter the name of the domain that you own—in this example, trawbridge.com, and click Next.
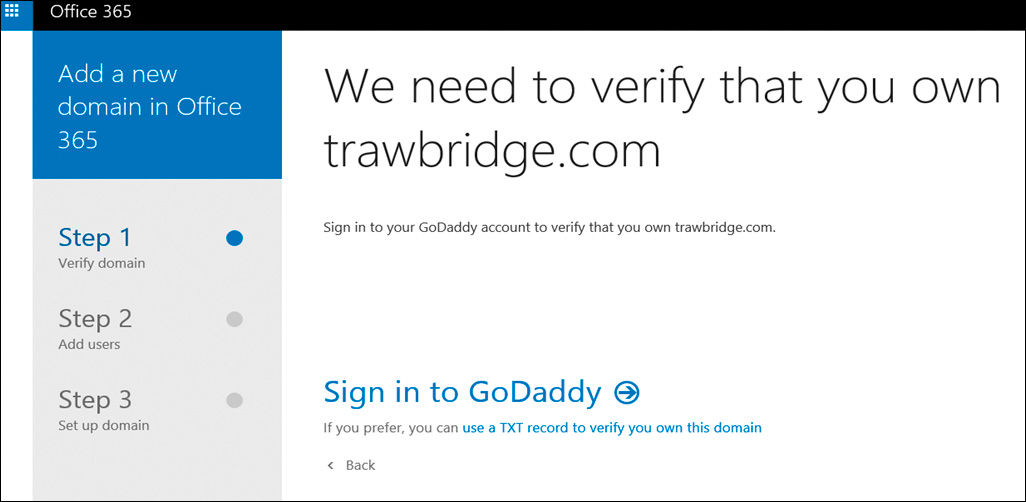
5. In the next step of the wizard, you will confirm ownership of the domain. How you do
this depends on what Domain Name System (DNS) hosting provider, or registrar, you
use. To find out what steps you must take, click the drop-down list and click your hosting provider.
6. After you complete the steps required by your hosting provider, you’ll be prompted to
sign in to your account with that provider.
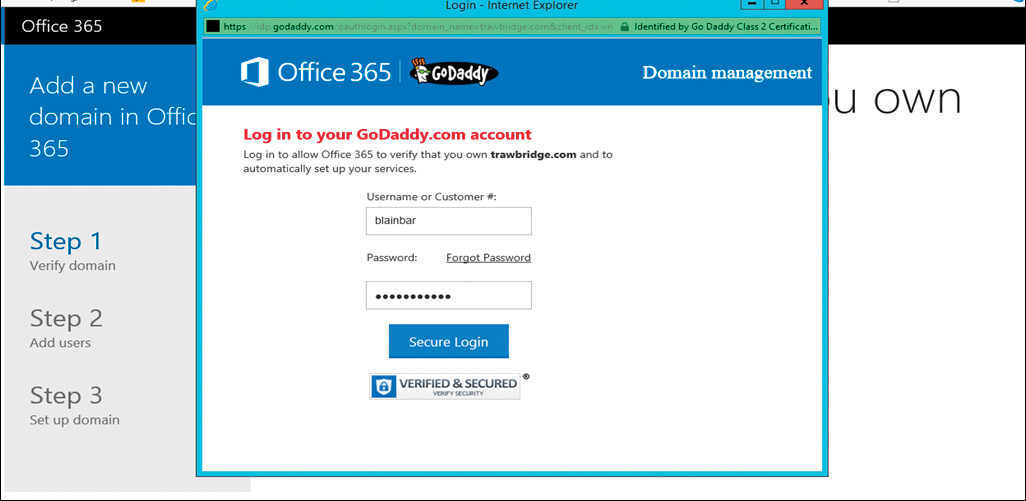
7. Enter the user name and password for your hosting account,
and click Secure Login. The wizard checks to make sure that you own the domain name
you have entered. (Note that this check can take up to 72 hours.)
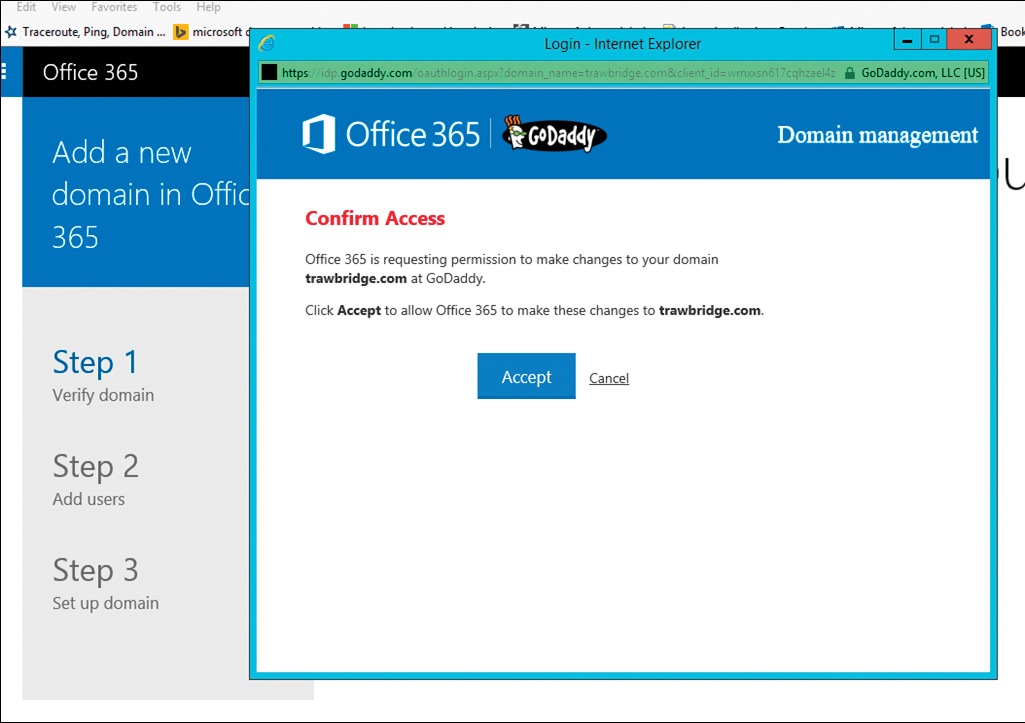
8. When prompted, confirm that you want to make a change to the domain by clicking
Accept on the page.
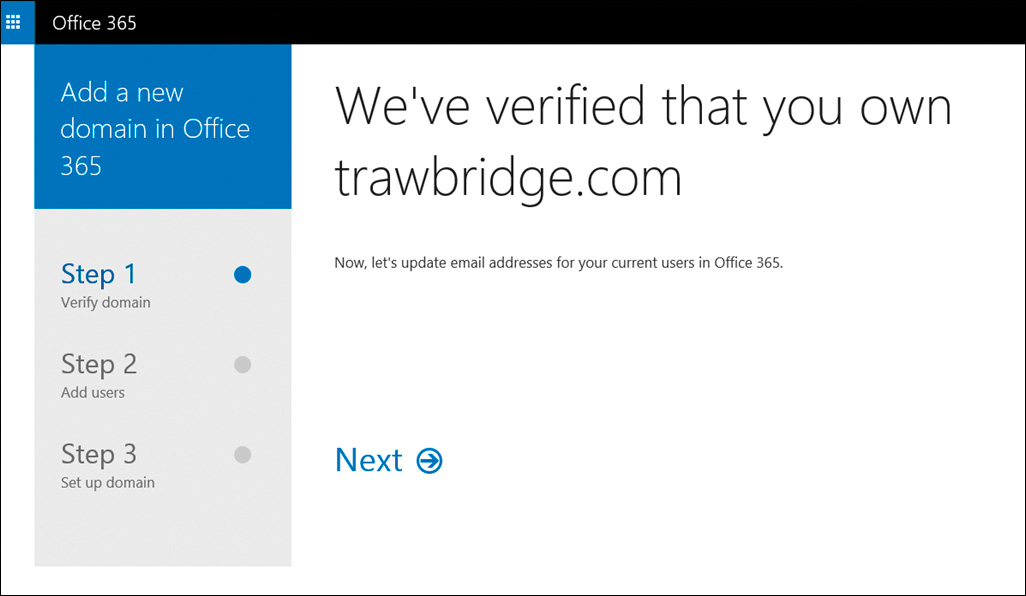
9. When the domain is confirmed, the wizard indicates that step 1, the verification
process, is complete and Click Next.