Step 1: Open MovieMator Video Editor Pro
Step 2: Import your image, video and audio files to MovieMator
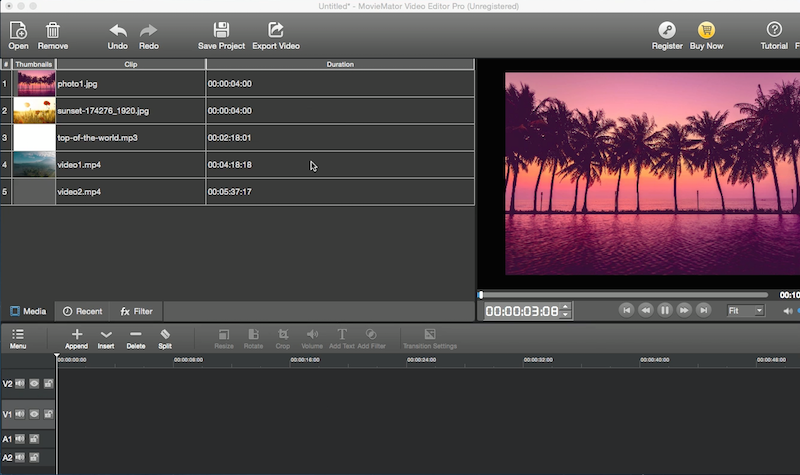
Step 3: Arrange the files in the timeline. Overlay pictures and videos should be placed in the top video track, overlay audio should be placed in the top audio track. Add your images to the video track in the timeline for editing.
Tips
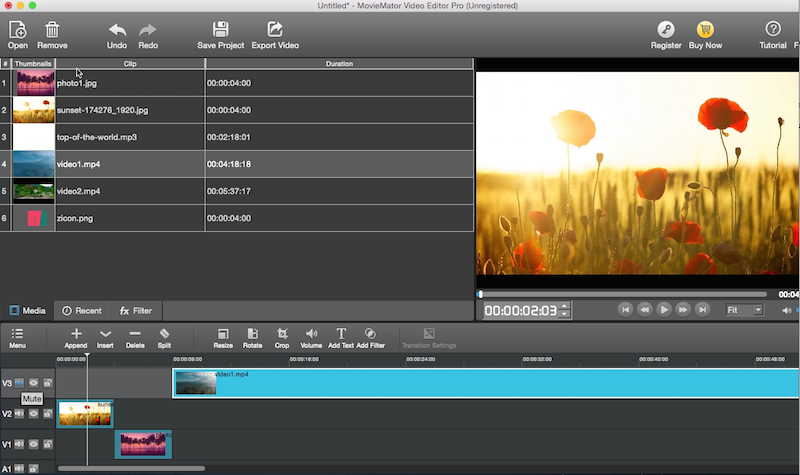
1.To mute the audio in video or music files, please click the “Mute” button
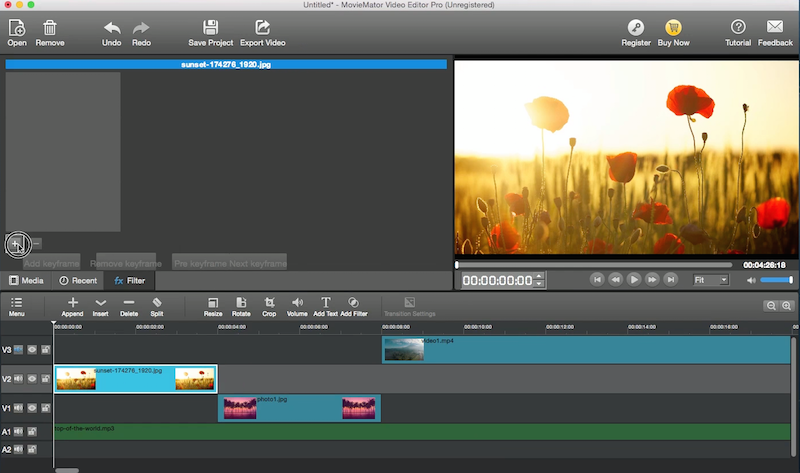
2.You can freely adjust the duration of each clip by dragging the edge of the clip on the timeline
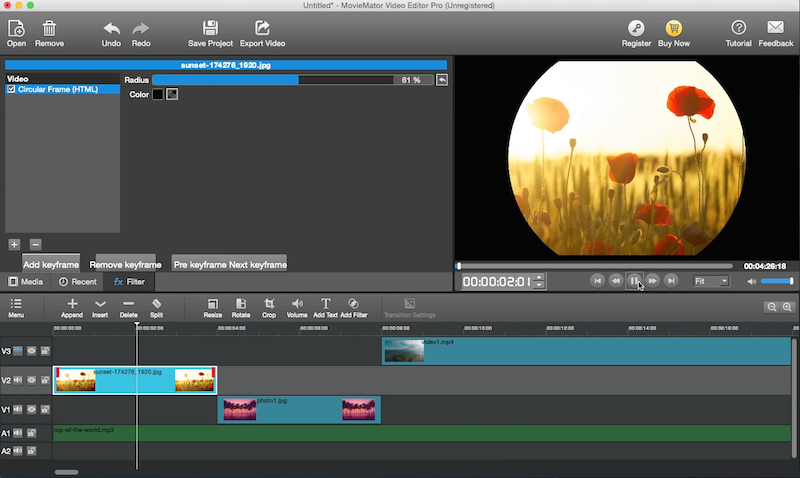
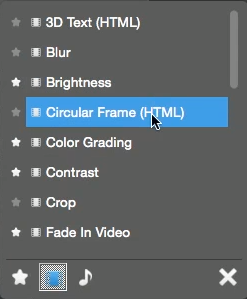
Step 4: To add an animated effect, select the picture/video clip, then click “Filter” and press “+” button to select the desired filter.
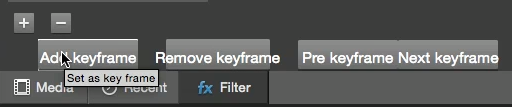
Step 5: Click “Add keyframe”, it will automatically add 2 keyframes respectively at the beginning and the end of the picture/video clip. Then click “Pre keyframe” or ”Next keyframe” to jump to the keyframe to make the settings.
Please note
1.If the playhead is neither at the start nor the end of the clip, when clicking “Add keyframe”, it will also add a keyframe at the playhead.
2.Click “Remove keyframe” to remove the mistakenly inserted keyframe.
3.Place the playhead at anywhere you hope to add a keyframe, adjust the parameters, it will automatically add a keyframe at the playhead.
Step 6: Preview the clip, you will see the animated effect. Multiple effects can be combined to create dazzling videos.